| Introduction | We talked about Cakey and all the food we were going to make! I was inspired to create food based around the characters of Gabby’s Dollhouse. I already had all the food on the table for easier access.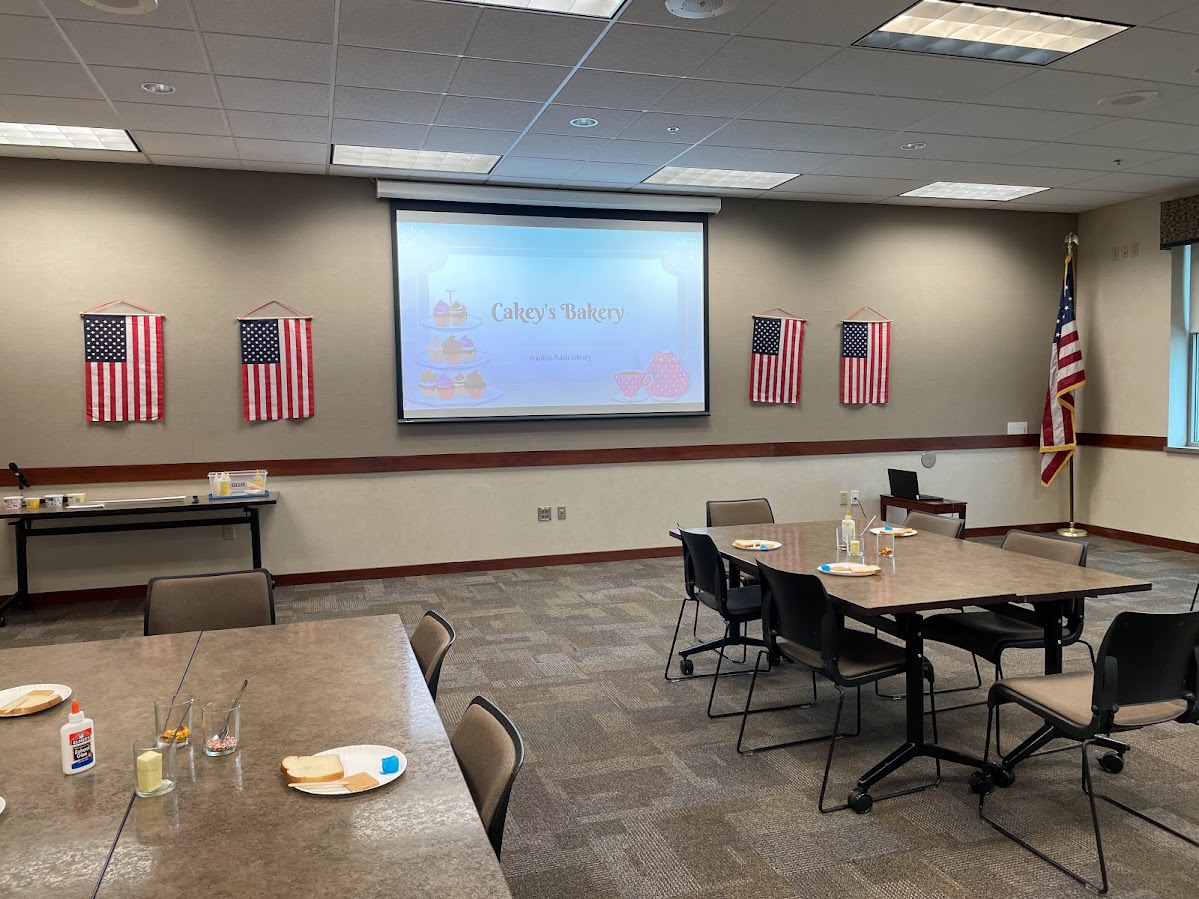 |
| Treat 1: Kitty Fairy’s Fairy Bread | This recipe worked out great for Kitty Fairy, and it was probably one of the favorites. I researched several different versions and settled on this recipe. I recommend getting thicker white bread. |
| Treat 2: Mercat’s Cookies | I adapted this recipe to fit our theme. Instead of seashells I gave them goldfish crackers. I made sure to get the goldfish colors packages. For the graham crackers, I crushed them before the event and had containers at each table for the kids to sprinkle their frosting. |
| Treat 3: Cakey’s Marshmallows | Cakey’s marshmallows was the overall favorite for both kids and adults. I had a staff member staff this station, since we were dealing with heat. I would release the tables when there was space available. We thankfully had melting pots that she would refill as it got low on chocolate. We made it more budget-friendly by having attendees only dip the top of their marshmallows and then sprinkling their marshmallows. I believe this was the recipe used for our base. However, we did not use the oil since we had the melting pots. 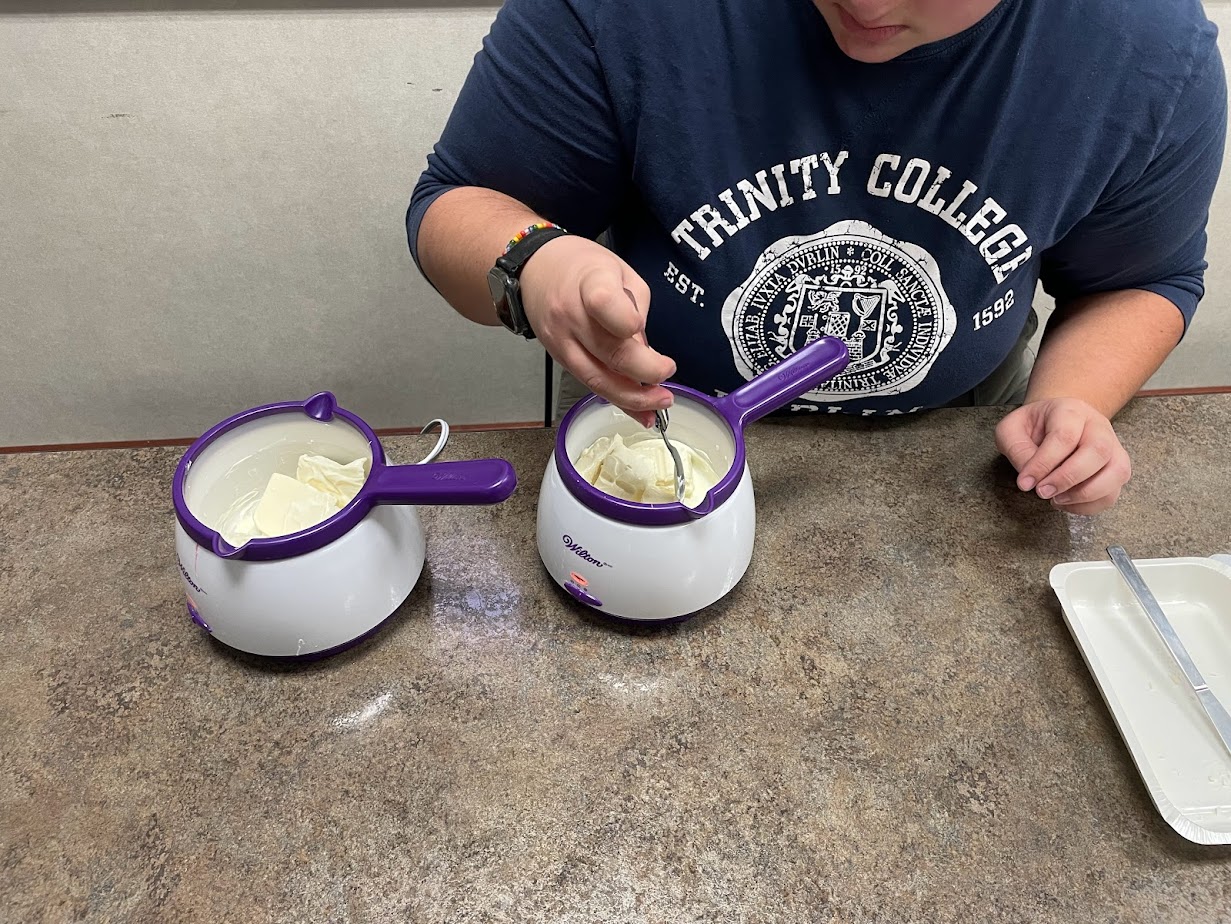 |
| Craft | Our craft was a cakey headband. I made a template and had our volunteers cut out the pieces for the kids.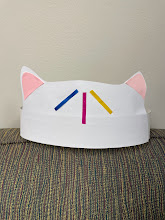 |
| Dance Party | We finished up the program with a dance party to the Gabby Dollhouse Soundtrack. |
Gabby’s Dollhouse: Baby Box’s Craft-A-Riffic Craft-Ganza
| Set-Up |     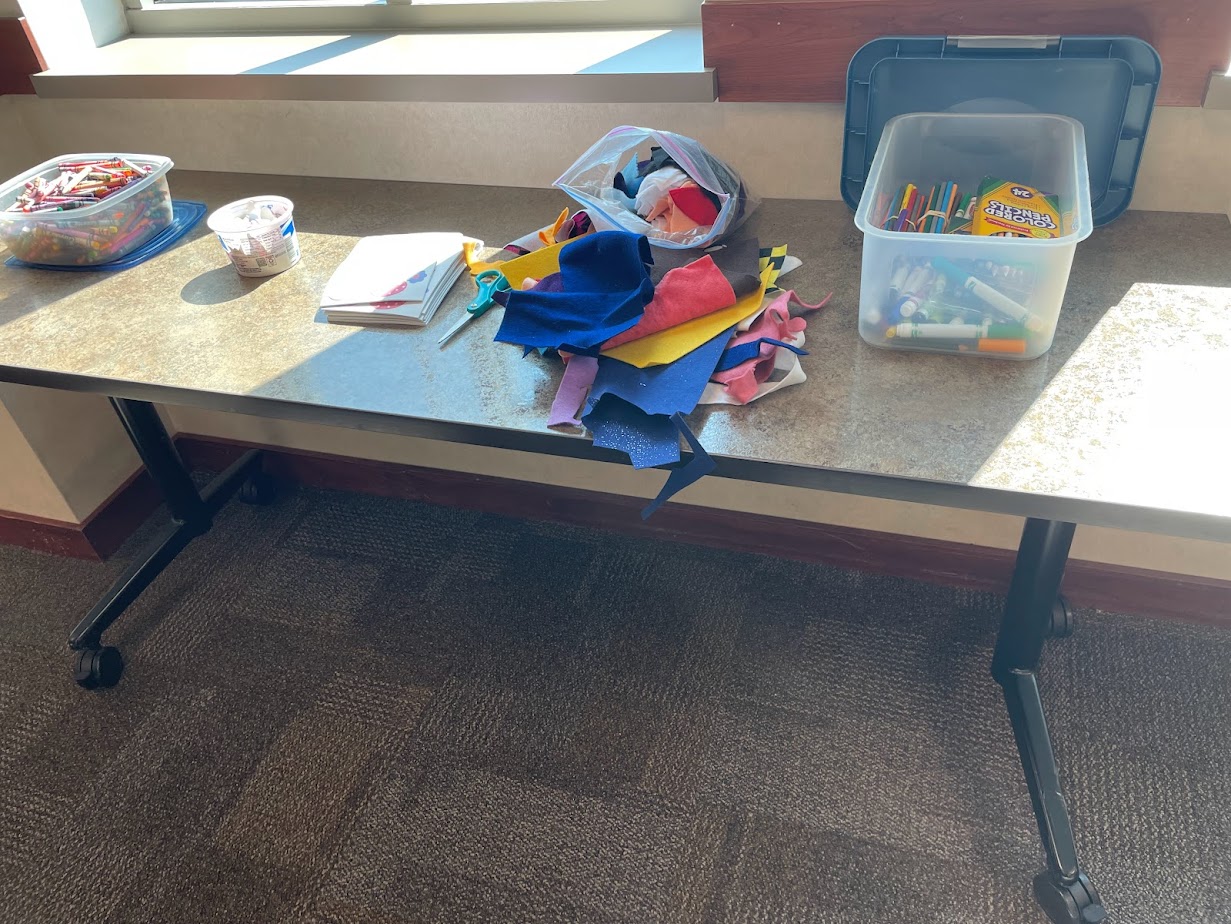 This was not going to be a guided program, so I created a set-up to where patrons could float around and grab the necessary materials. I did create stations for each craft. I also provided the kids with buckets to where they could gather all their materials. |
| Craft 1: Hamster Kitties | I found this inspiration directly from Gabby’s Dollhouse youtube channel. I figured Hamster kitties would be fun to make. They were kind of a pain to make….. The kids loved them, but we relied heavily on their adults and a hot glue gun to make them. Honestly, I was slightly creeped out by my sample. source: https://www.youtube.com/watch?v=7Ne44nlyoBc |
| Craft 3: Pipe Cleaner Cat Ears | Again I took inspiration from the same video and made pipe cleaner cat ears. This was a nice compliment to the hamster kitties because it wasn’t as time consuming. I would heavily recommend in investing in a lot of jewels. The kids went gaga for them. I think I only have one sheet left. I also lost a strip of jewels during the program. source: https://www.youtube.com/watch?v=7Ne44nlyoBc |
| Craft 4: Baby Box Face Popsicle Stick | I always like to make a craft based on the character we are focusing on and I thought it would be fun to make a Baby Box Popsicle Stick puppet. I used mostly our die-cut machine to create my template and had a volunteer make up my counts.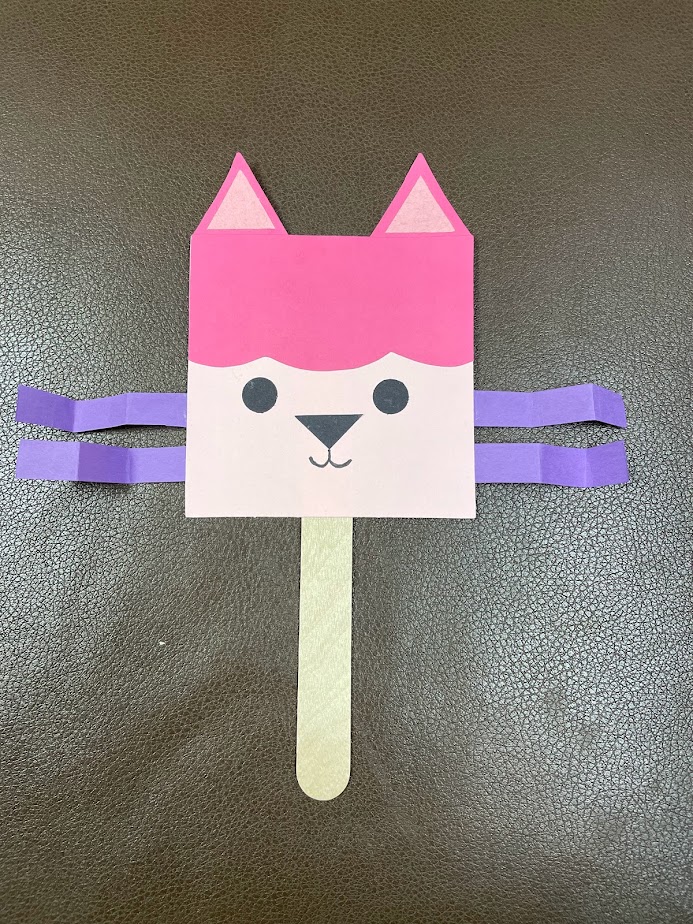 |
| Snack: Kitty Bagels | I unfortunately do not have any pictures of our snack craft. I set-up station with the snack pieces. When the kids were ready to eat, they would come up and I would give them the pieces to create a kitty bagel. I adapted my version from my source. To help save money, I did mini bagels. Each kid only got half a bagel. We used regular cream cheese. We still used the strawberries, pretzels, and raisins. Source: https://www.theinspirationedit.com/hello-kitty-celery-carrot-hidden-veggie-cream-cheese-bagels/ |
| Conclusion | This was a great hit. I would say the kitty ears and the popsicle sticks were the most popular. Kids were kind of half and half on the kitty bagels. Some took all the pieces while others only took some of pieces. |
Building Readers Display
This has been one of our most popular displays! We had to constantly restock it! Credit to my volunteer for bringing my vision to alive.

Summer 2023 Take-Home Crafts
Instead of doing a weekly themed storytime craft during the summer, I made punny crafts. The adults definitely appreciated it more than the kids.
These were the puns:
Nacho Average Friend-Chip
Best Friends S’more Ever
You’re My Butter Half
Orange You A Cutie
You Make My Heart Pop
Eggcellent Together

Bluey Blowout


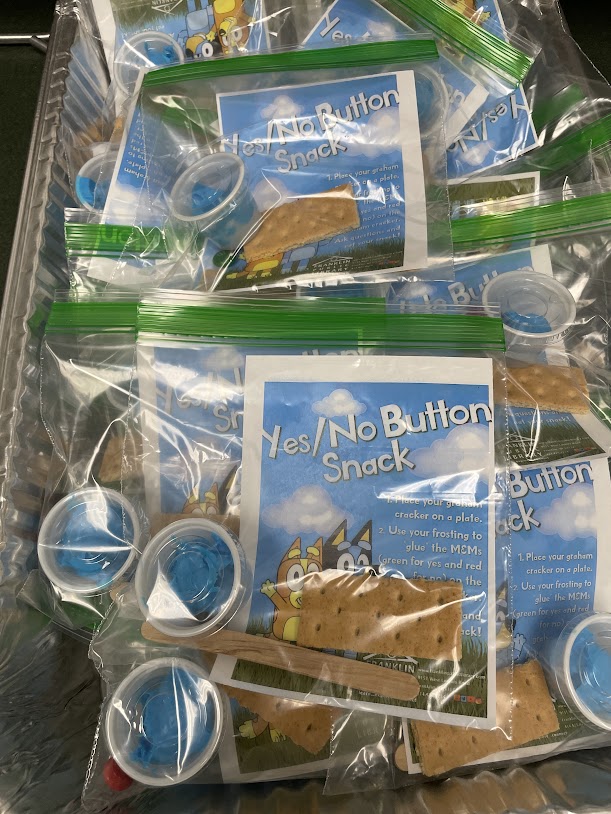
Activity Two: Food Craft. We created Yes/No Button snack crafts. We did bag them up. Patrons had the option to either create their button snack at the library or take it home.
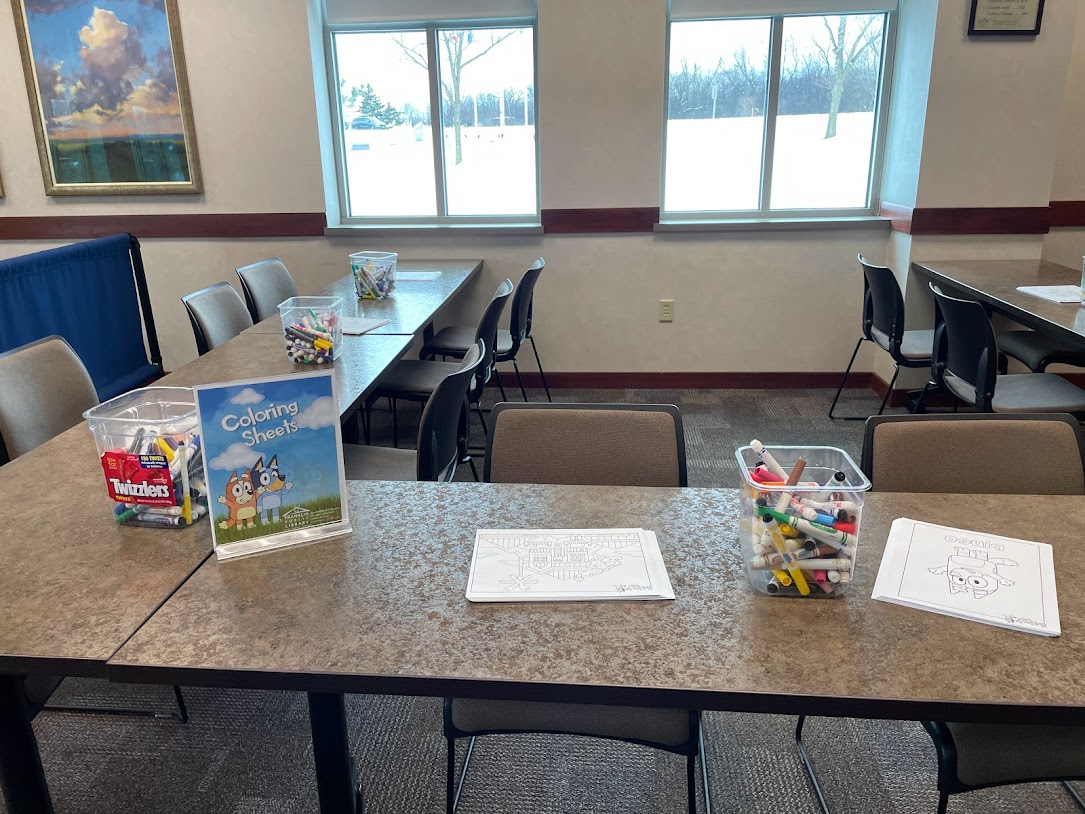
Activity Three: Coloring Sheets. We had several different coloring sheets available. This was a nice option to break up the crowd.

Activity Four: Play Library. We set-up a play library for the kids to do imagination play. Initially it remained a pretty quiet spot. However, once the kids had done all the other activities, this is where they migrated to come play.
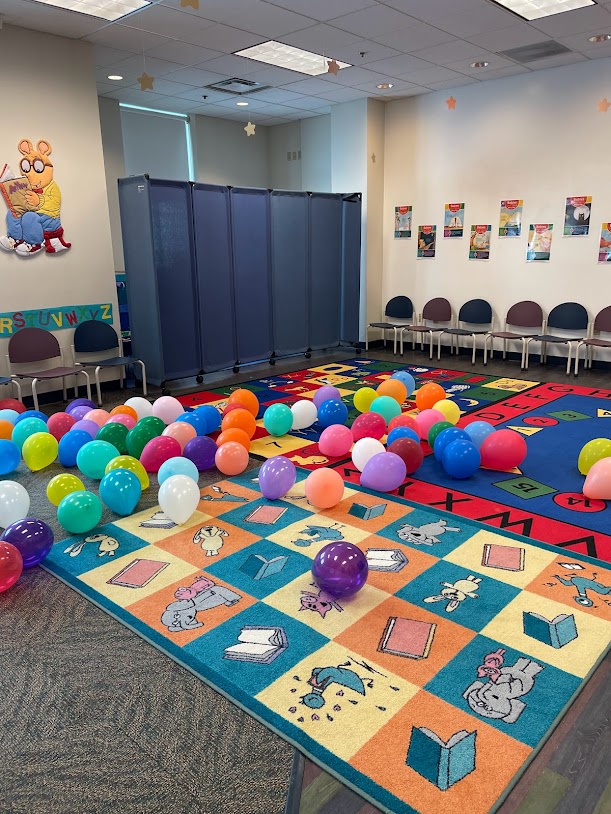
Activity Five: Keepy Uppy. We filled up our storytime room with a ton of balloons. The kids would filter in and play Keep Uppy. We had a volunteer monitoring this room. She would fill up extra balloons as needed.

Activity Six. Photo Booth. We got these nice sized cut-outs of Bluey and Bingo from Party City. Adults and children interacted with this station.
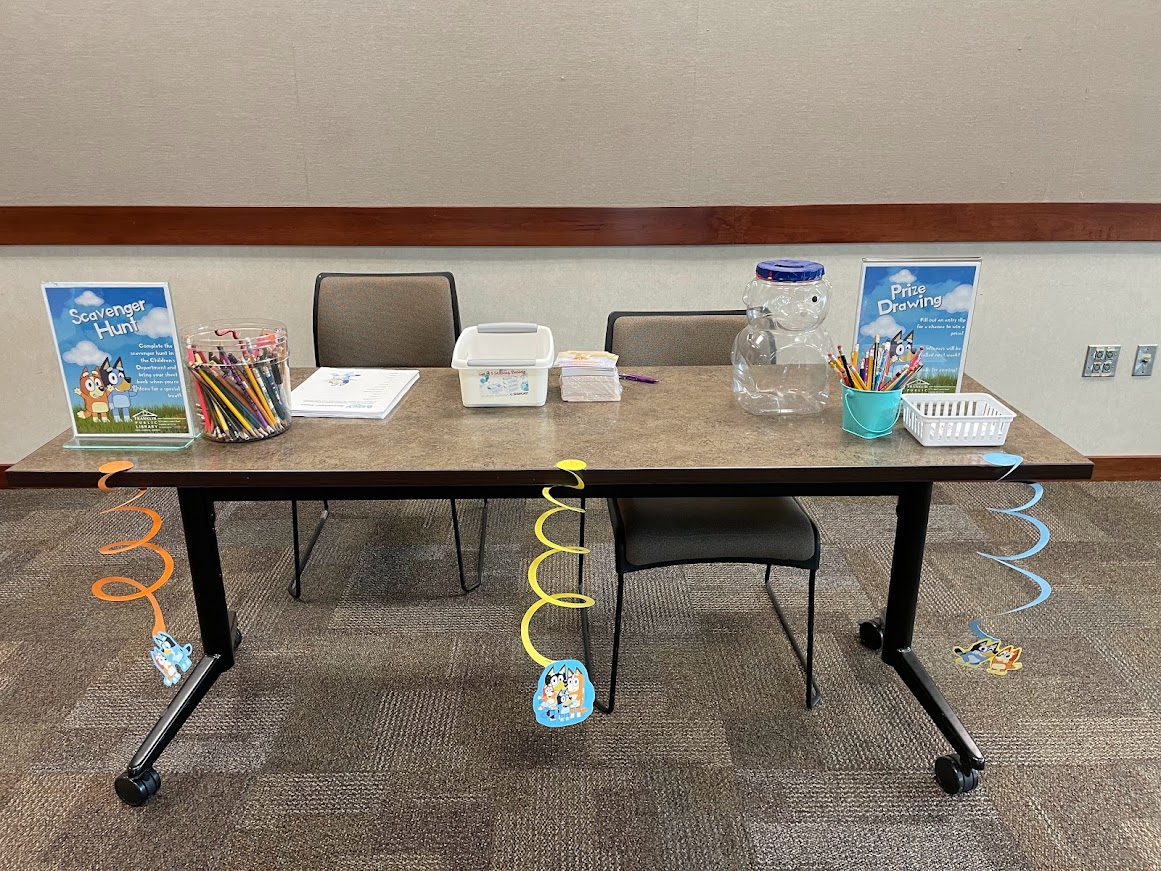
Activity Seven. Scavenger Hunt/Prize Desk. Our last activity was our Scavenger Hunt. We hid Bluey Character pictures throughout our children’s department. Once completed, the kids could bring it back for a Bluey sticker and a free McDonald’s Fry (provided in partnership with a local McDonald’s).
We also had a prize drawing for the kids to enter. We later drew winners for several different Bluey prizes.
MakerSquare: Desk Pets

Description: Adopt your own desk pet!
Supplies:
· Container
· Desk Pet Eraser
· Adoption Paper Bundle
· Food Erasers
· Fabric
· Stickers
Directions:
· Open your container and reveal your desk pet!
· Fill out your adoption paper bundle.
· Decorate your desk pet’s home with the stickers. Use your own art supplies at home to further razzle dazzle your pet’s home.
· Take your desk pet home and care for it. Congratulations!
Sensory Sprouts: Weather Boot

Supplies:
· Paper Boot
· Pipette
· Assortment of Materials
· Tape
· Glue
Directions:
· Have your child tape or glue the different materials to the paper boot. If you are using glue, try not to drench the materials with glue.
· Once all materials are taped/glued to the boot, give your child a bowl of water and the pipette. Have your child dribble water on each section of material.
· Observe how the different materials react to water. Discuss why the material might react the way it does to the water.
MakerSquare: Holiday Button Wreath

Supplies:
· Poster Board
· Wrapping Paper
· Die-Cut Wreath
· Bow
· Green and Red Buttons
· Assortment of Sequins, Stickers, and Dots
· Glue
· Popsicle stick
· Tape
Directions
· Wrap your poster board with the wrapping paper and secure the paper to the back with glue or tape.
· Glue the die-cut wreath in the center of your poster board.
· Glue your bow onto the wreath.
· Glue green and red buttons on the wreath. Enhance the wreath by adding sequins and/or dots.
· Let the wreath dry and then display it for the holidays!
Sensory Sprouts: “I Spy” Cotton Ball Weather

Supplies:
· Paper
· Cotton Balls
· Feather
· Button
· Foamie
· Dinosaur Die-Cut
· Shape Die-Cut
· Glue
Directions:
· Have your child stretch and fluff out all the cotton balls. The child can then glue down their cotton balls to make a cloud on the piece of paper.
· Either the child or adult can then glue or place the rest of the objects on to the cloud.
· Have your child work on identifying each object. If the objects are not glued down to the cloud, you can rearrange them for another round of “I Spy”.
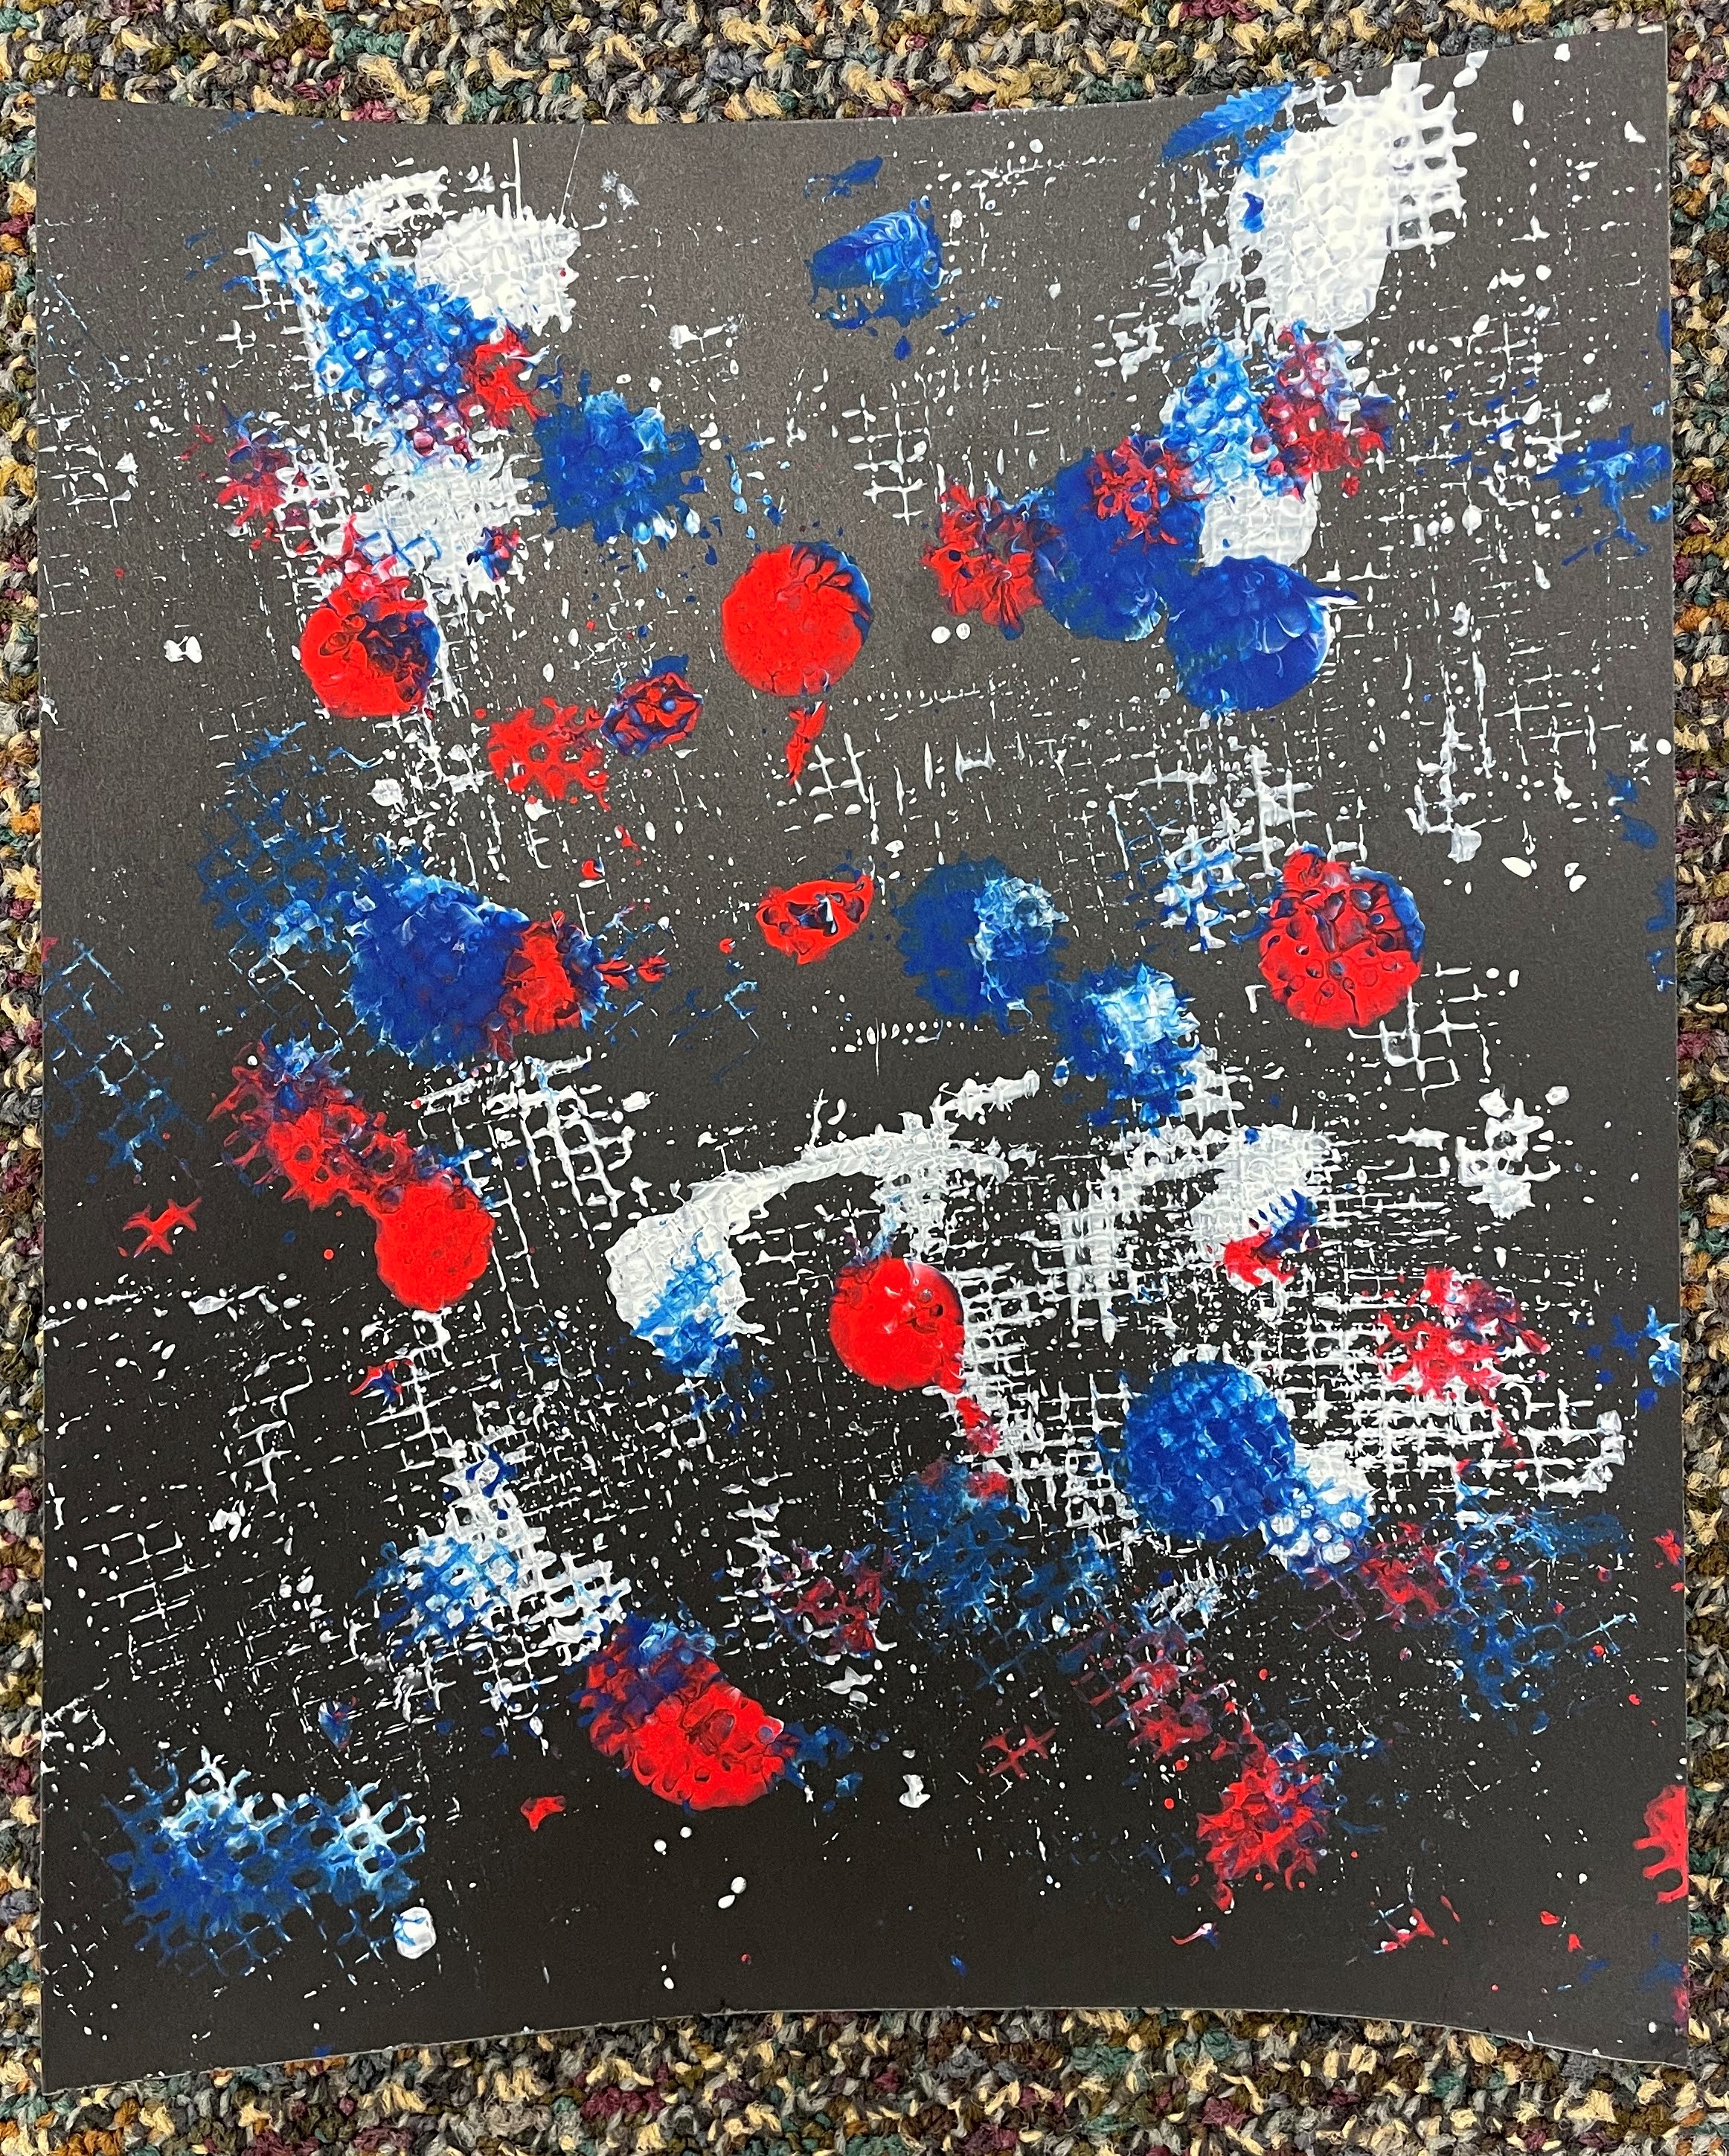
MakerSquare: Fly Swatter Painting