Our one and only American Girl program for spring happened to land on Earth Day. I felt that it was only appropriate to do a Modern Girl session by upcycling crafts that I already had around the children’s department. You can find a TON of activities to do for this kind of program. I had to limit myself to four of them. This program was also very loosely structured compared to my other American Girl programs.
Our first craft: CDs/DVDs
Supply cost: $0
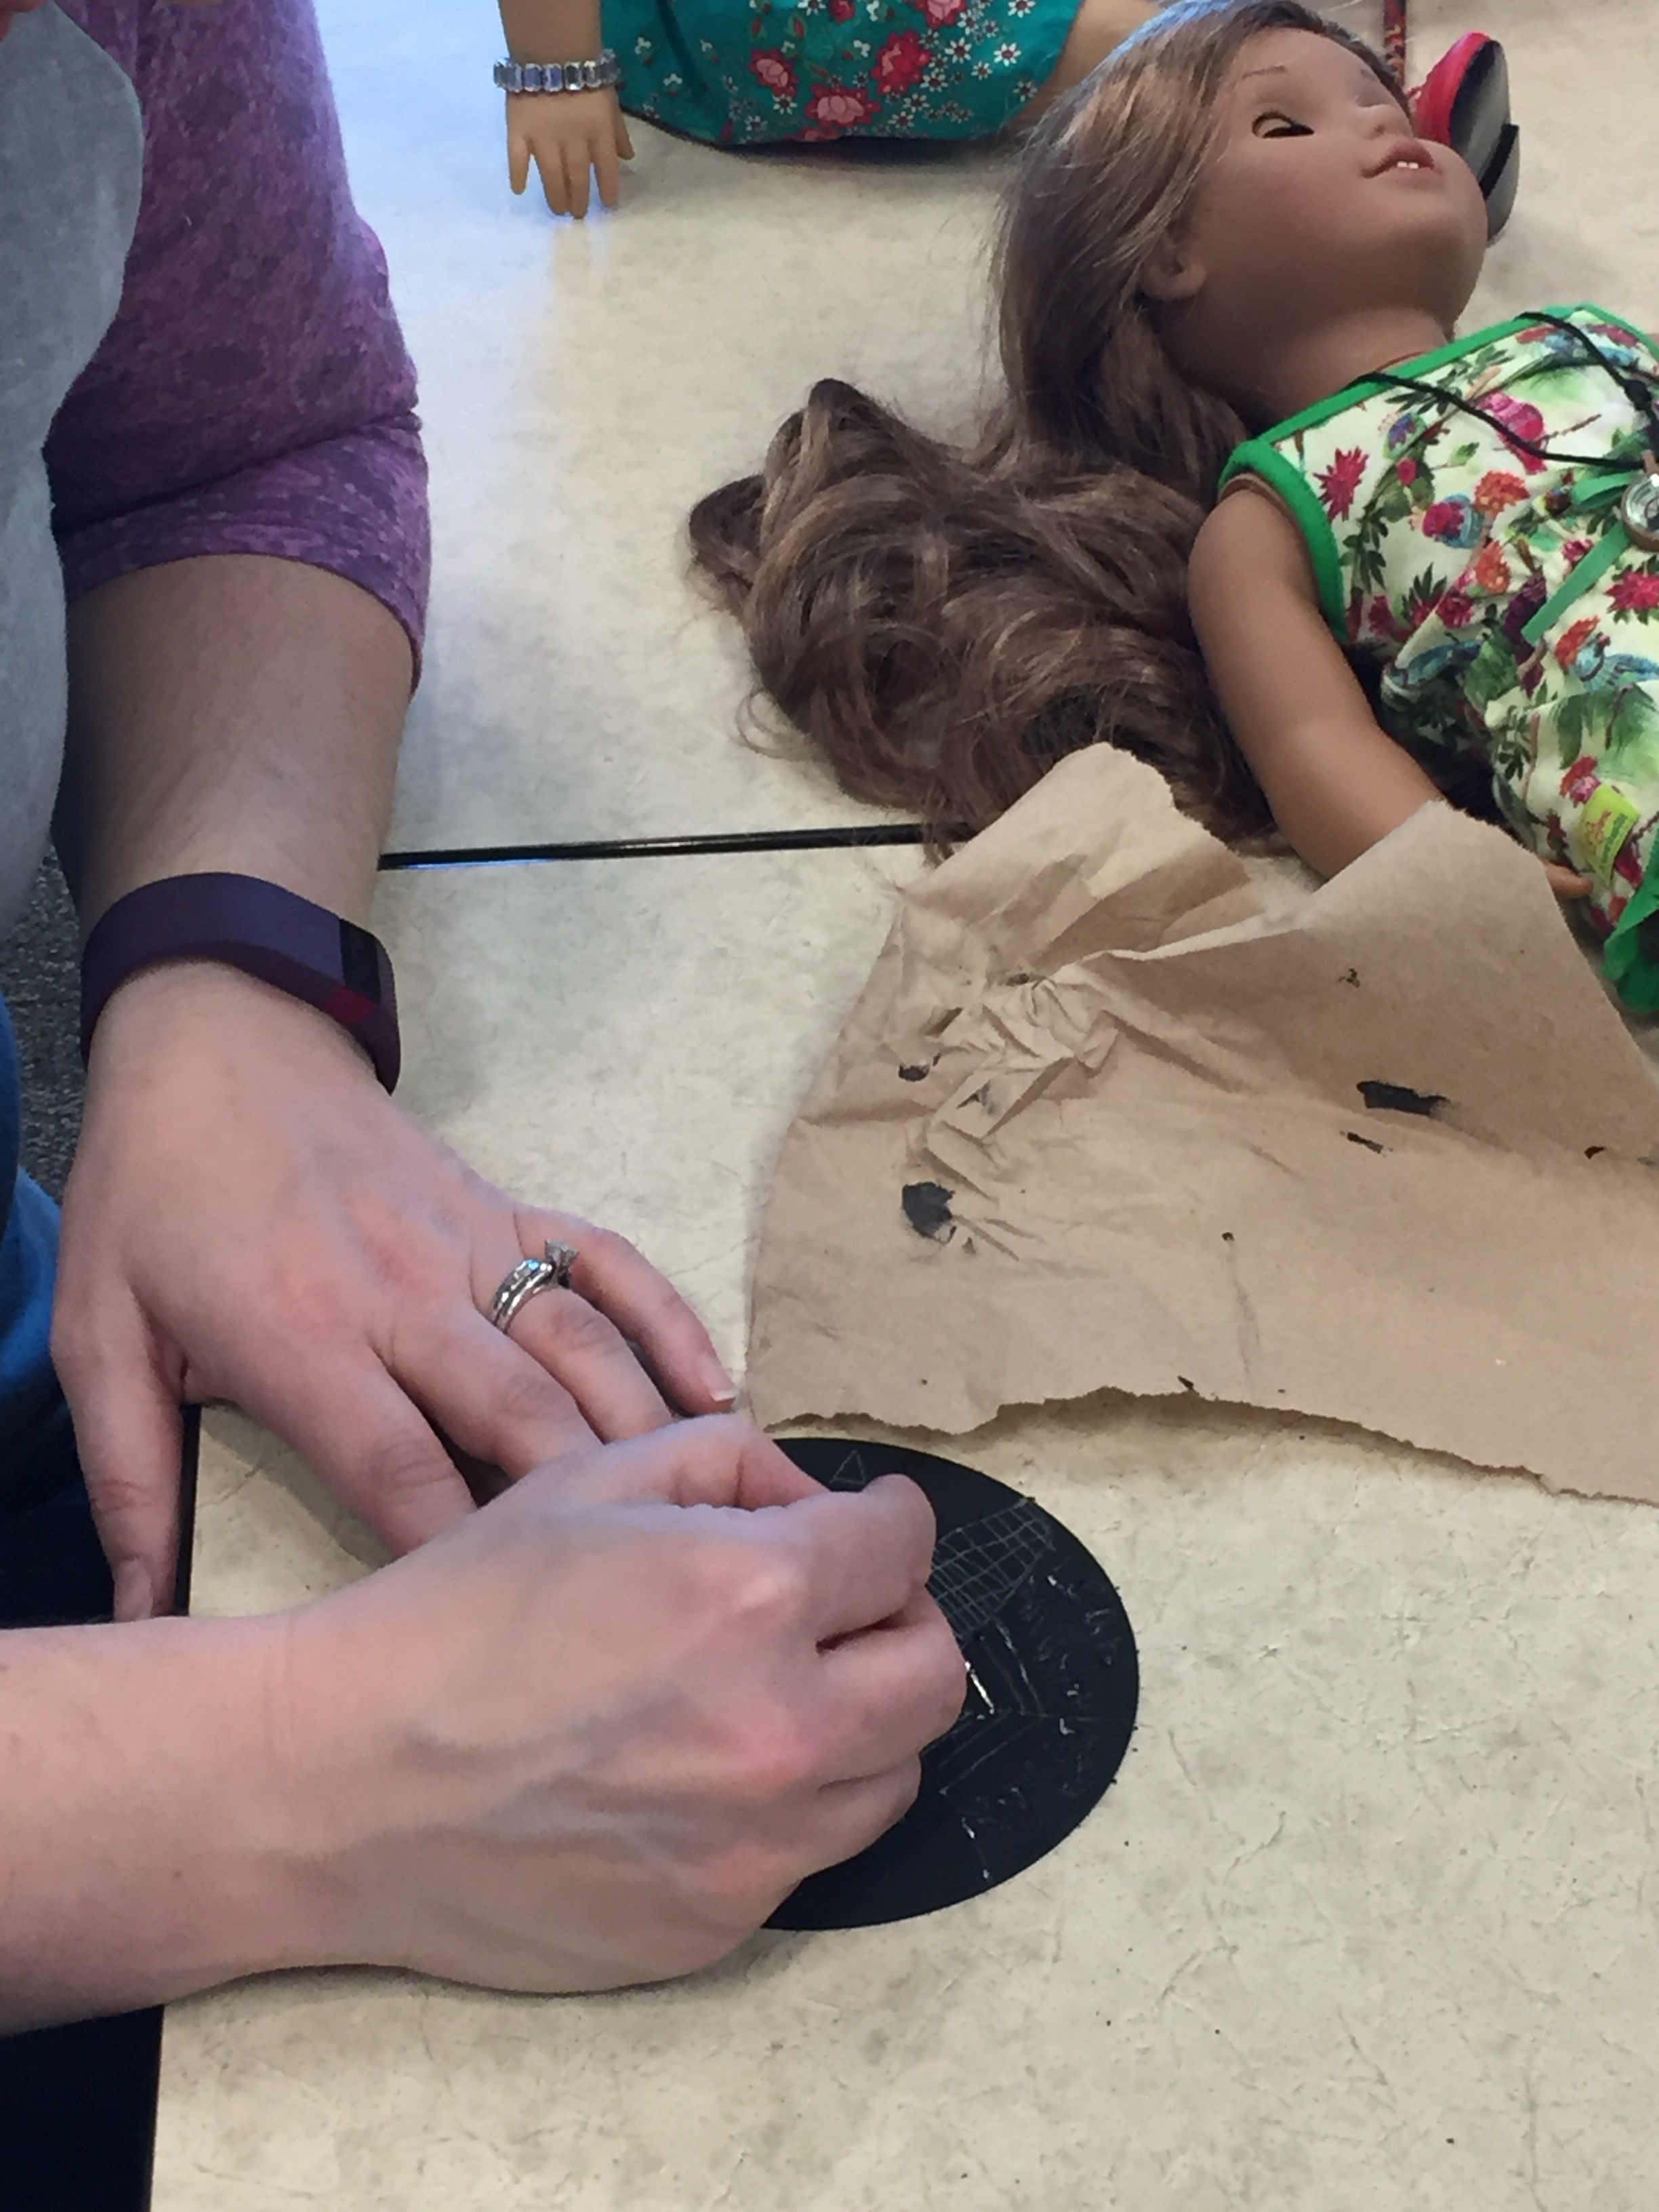
I wanted something other than a mobile for a CD project. Researching, I found several sites where people painted CDs with black acrylic paint and then etched a design into them. As a library, we have a whole bin of old CDs and paint is always to be found. We used push pins as our etching tools, as I wanted the little hands to have some sort of handle on their utensil for etching. I would say to remind people that this is a time consuming project. It takes patience to etch away the black paint. I also think the older participants and adults enjoyed this activity more than my younger participants.


Second Craft: Batik Paper
Supply Cost: $0
I found this craft idea in Make Your Own Crafts: Eco-Crafts by Sally Henry and Trevor Cook. All you need is either coloring sheets or plain paper (I used scrap paper), crayons, water-based black paint, and paper towels.
My participants colored a picture of their choice or drew their own design with crayons. The trick is to really color the entire paper and to color heavily. Once they finished coloring, the kids crumbled up their papers into a tight ball and re-smoothed it out. Once it was flat again, the kids then painted over their picture with the water-based paint. We had to water down our paint because it was a tad thick. If the paint is too watery, you can mop up the excess with a towel.
We covered each picture with another piece of paper and then carefully placed the iron on top of the clean paper for a second. We would lift up the iron and press it on a new section. DO NOT IRON the paper or leave it on for too long. It will make the papers stick together. Once you have applied the heat pull apart the two papers.
This was a favorite among the participants. I actually had several adults ask to see the book, so they could get the instructions to do at home.


Third Craft: Chalkboard Tins
Supply Cost: $1.98
We had a patron who donated mini Altoids tins to our library. My co-worker originally was going to use them, but she graciously donated them to me for my program. I also had chalkboard paint. I only needed to buy the chalk for the kids.
This was the clear winner for the kids. All they had to do was paint the inside of their tin. Ideally you would allow the tin to dry for a few hours and then paint another coat. We didn’t have that kind of time, so we would let the tins dry for about 20-30 minutes and then apply another coat. Some of the tins did have quite a bit of paint from some overenthusiastic painters, but it all worked out. Instructions can be found here.

My last craft I unfortunately do not have a picture of it. One of my volunteers found wooden flowers of varying sizes. She created little baggies that contained one colored Popsicle stick, one big flower, and one little flower. The kids (really an adult) hot-glued them together.
I think the next time I do this program I would like to incorporate making dirt cups. I just was a leery of how much time I would have for everything.
